
“Can I get good sound for my sound baths without spending a fortune?”
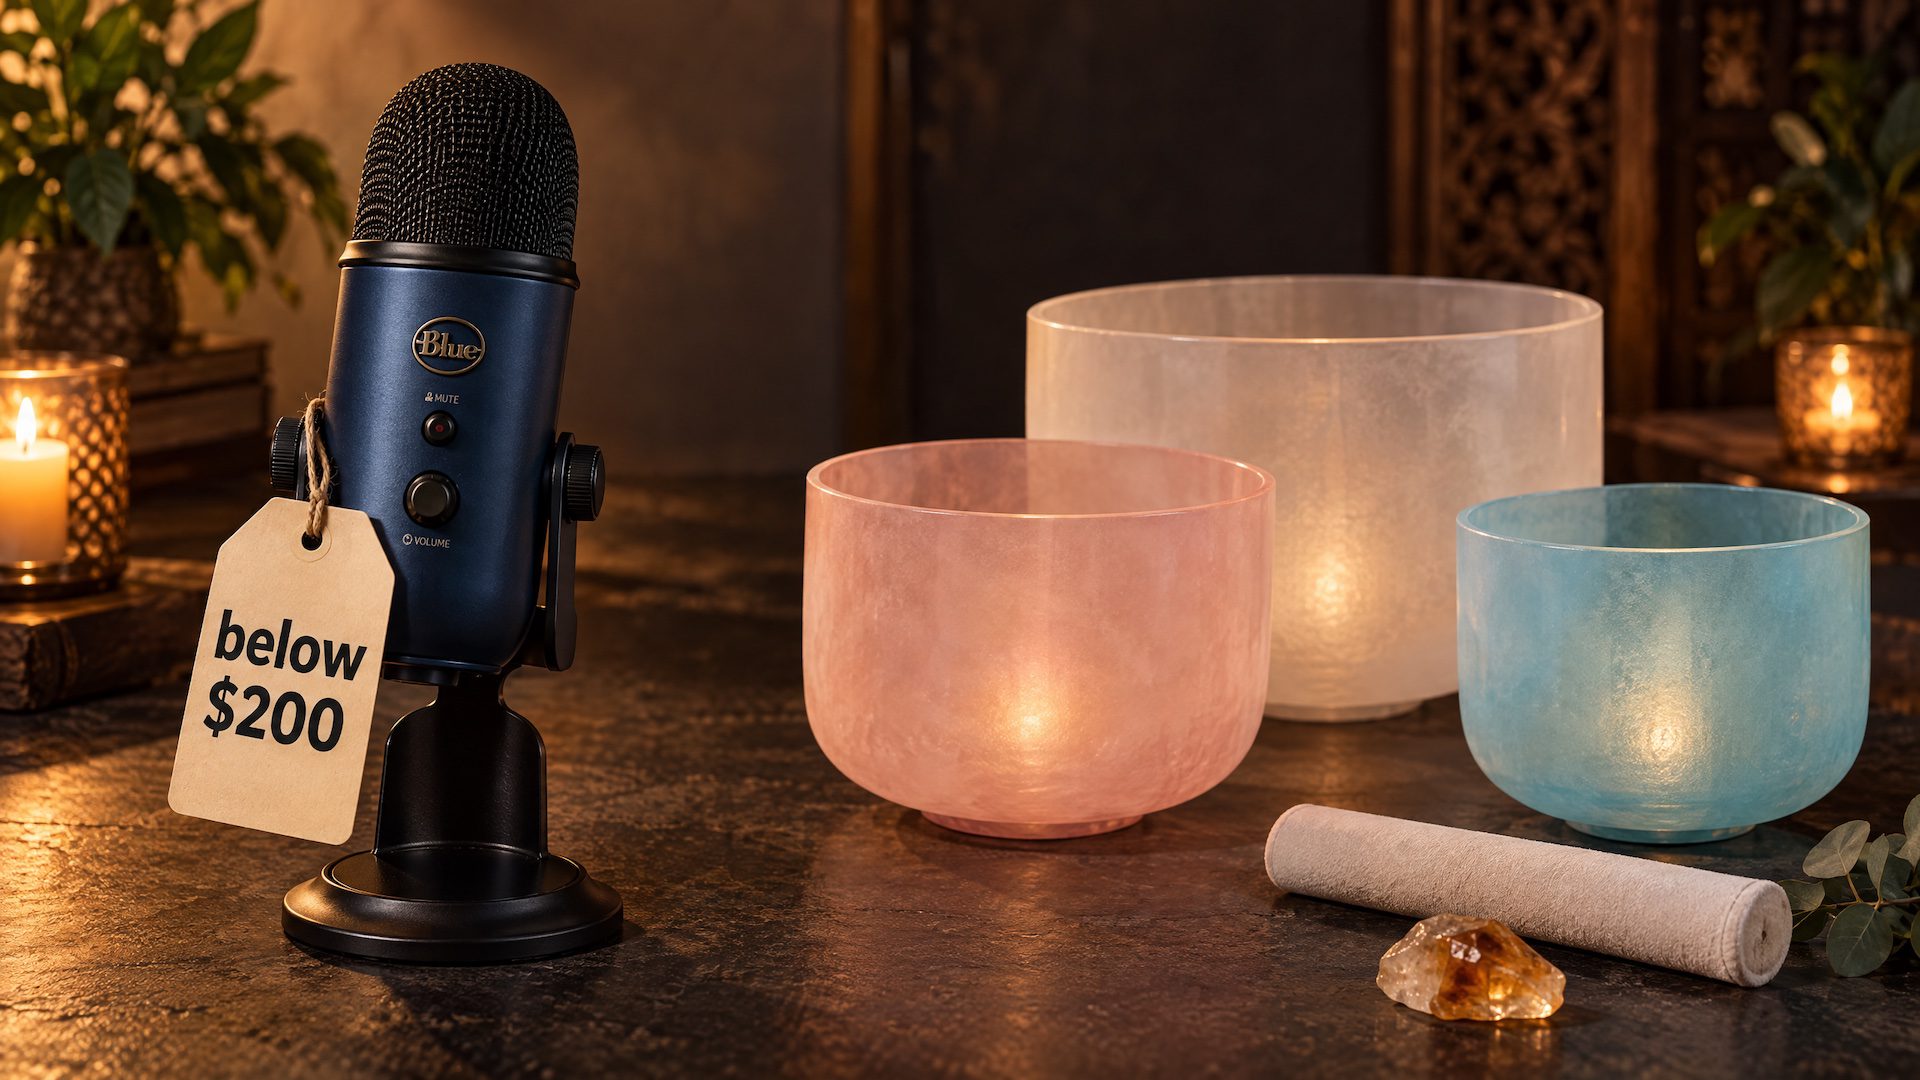
Short answer: yes. A stereo USB microphone like the Blue Yeti or HyperX QuadCast 2 (around $90-150), or a portable recorder like the Zoom H1 Essential (~$110), is genuinely enough to start. It’s not the best quality out there, but it’s real, it gets you recording, and you can upgrade your setup once your practice and budget grow.
Note: Some of the links in this post are affiliate links – if you buy through them, I may earn a small commission at no extra cost to you. I only recommend gear I’d actually tell a client to get, affiliate or not.
When someone asks me whether a setup under $200 is good enough, I tell them that it’s actually a really good starting point for the journey. It’s always better to have one working microphone setup than none at all. If you start with a cheap setup and start doing the work, practicing, getting your setup ready, there’s way more possible with a little budget than most people think. Most people even have the perfect tools already at hand before investing in anything else. Nowadays, smartphones today have good cameras and microphones – iPhones can even record in stereo. The tools are not necessarily the problem.
What’s important to know: a USB microphone like I show you below is the cheapest and easiest version, and it gets you into the actual workflow of recording sound baths, but it doesn’t mean you have the best quality. For many people listening, they would not even hear the difference, or even recognize it – people are, in general, very forgiving when it comes to sound. It’s not about having the perfect setup to start. It’s really about just starting, then optimizing your setup over time. Everything that I show you below isn’t the best quality option – but it’s an option that works and that gets you into the habit and practice of online sound baths. It’s easier to learn than you think.
When a cheap setup works, and when it doesn’t
Low budgets work when the setup of your instruments isn’t too complicated. If you only work with singing bowls, maybe some Koshi chimes or other small shamanic instruments, a cheap microphone can be totally enough. But once you’re working with different larger sound healing instruments like gongs, singing bowls and handpans at the same time, it gets more difficult. The space these microphones can record is quite small and the recording range is quite limited. That means you need to pack all the instruments into a tight space to get an equal, homogeneous sound – otherwise some instruments come through very loud and others very low, which makes the overall sound a bit weird and uneven.
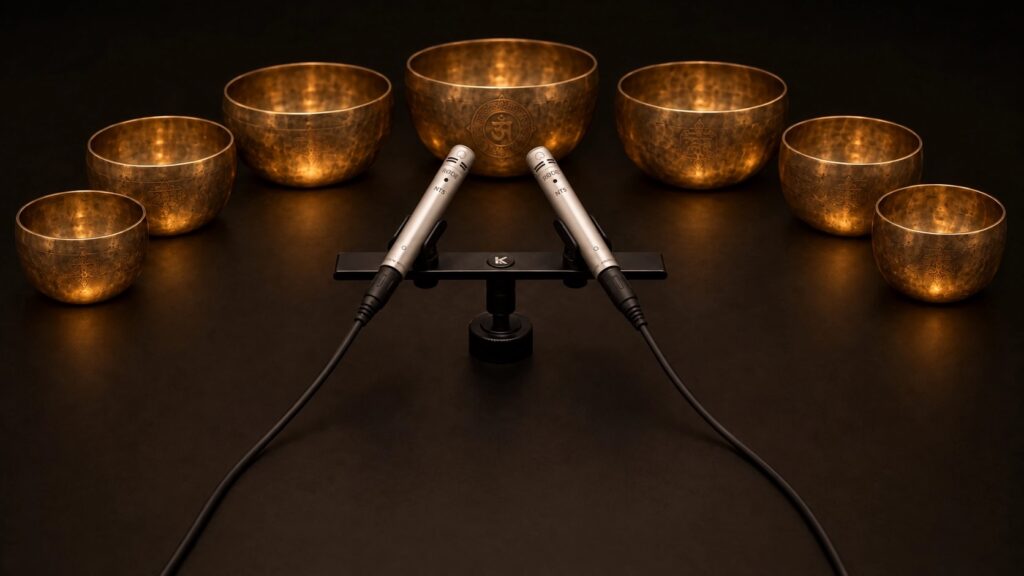
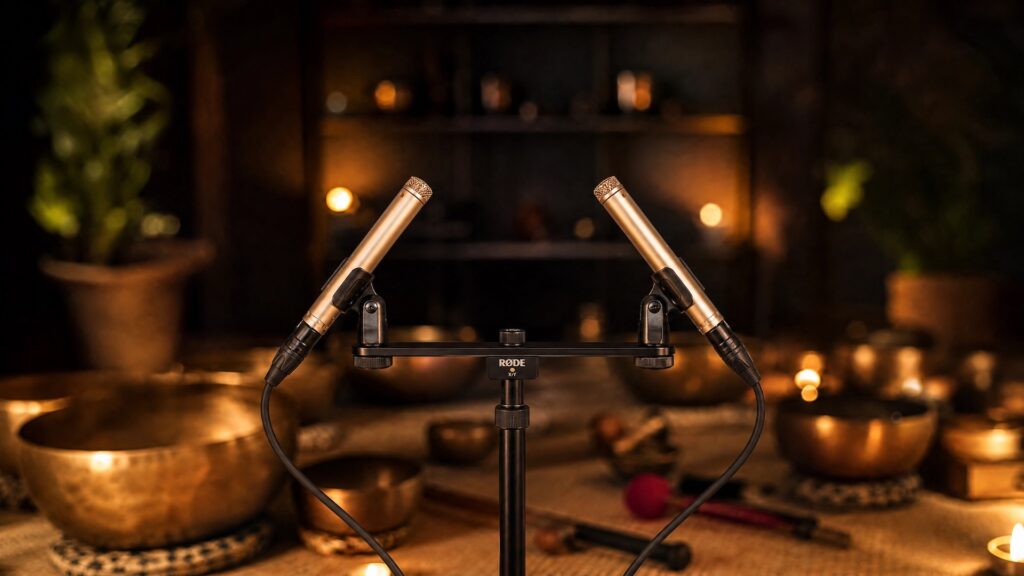
So in general: when you work with one kind of instrument, then a cheap setup works totally fine. When working with many different kinds of instruments or recording your voice alongside them, and it’s worth thinking about investing a higher budget – or at least a bigger recording range, which is what two separate condenser microphones already give you (however, that’s a different setup entirely, covered in my post about the best microphones to record Tibetan Singing Bowls.
My actual favourite options under $200
The microphones below are the ones I’d recommend right now. The one thing that matters more than the brand: it has to be a stereo (meaning ‘listening with two ears’) and never mono. Mono would give you a very narrow sound which doesn’t work well with sound bath setups. All of the ones below are stereo microphones:
For indoor recording: USB microphones
For indoor sessions, a stereo USB microphone is the easiest way in. The Blue Yeti (around $90-100) is the long-standing, reliable cheap option, it comes in a few different colors and already includes its own stand. The HyperX QuadCast 2 (around $150) sits at a similar sound quality, recording at 24-bit. There’s also a newer HyperX QuadCast 2 S (around $200), which records at 32-bit instead – meaning a lower noise floor and a wider dynamic range. Since sound baths involve picking up very quiet signal, that extra bit depth genuinely helps keep the background noise down, so if you have the room in your budget, I’d lean toward the 2 S. However, the regular QuadCast 2 is still sufficient if you’d rather save the difference.
I haven’t tested the Blue Yeti and the HyperX side by side myself yet (that’s coming!), but from what I’ve heard comparing them in a music setting, the difference isn’t large. I personally like the HyperX a little more in its sound. If you want something that also aesthetically looks a bit better, the Blue Yeti is probably the better choice there.
For outdoor sessions: portable recorders
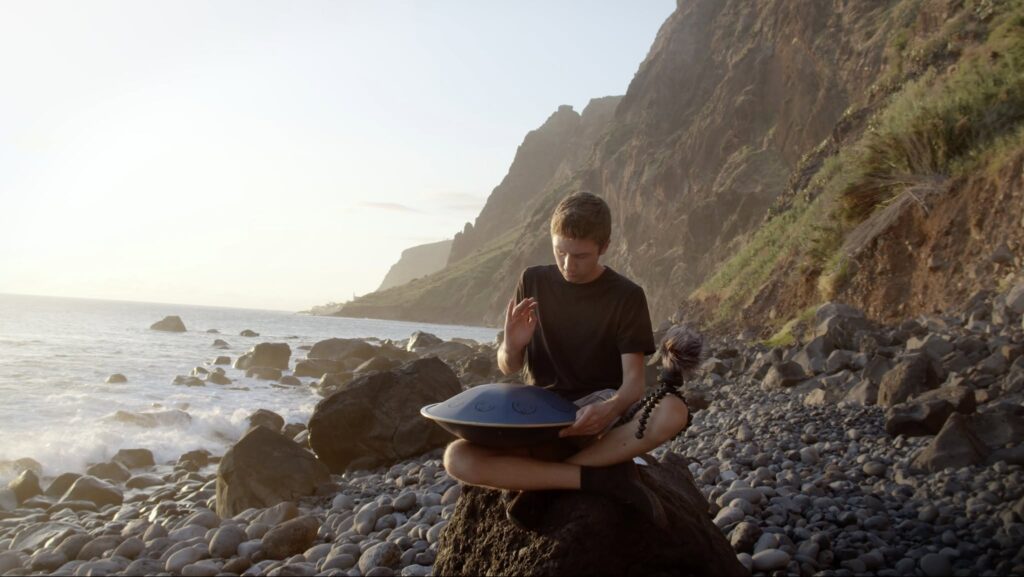
If you also work outdoors, a portable recorder makes more sense than a USB mic. The Zoom H1 Essential (around $110) has lower sound quality than its bigger sibling, but it’s also less expensive. The Zoom H4 Essential (around $220, just a bit over our target budget) has a lower noise floor, which matters a lot here since we’re picking up very low signal, and it also records in 32-bit. It has an XLR input too, so you could even plug in a separate microphone later and grow the setup over time. With all the other options, you would have to replace it outright.
The difference between USB mics and portable recorders isn’t really the sound quality – it’s the workflow. USB microphones always need a computer to work. Portable recorders can record straight to an SD card, which makes them far more mobile. That’s exactly where the Zoom recorder earns its keep: recording something in the forest, with no computer anywhere nearby.
Why this post stays with USB mics and recorders, not interfaces. The more professional route – a small condenser mic like the Rode M5 plus an audio interface – costs more once you add both pieces together, and realistically goes past $200. That’s a different budget tier. For genuinely under $200, you’re in USB-and-recorder territory with stereo functionality, and that’s a completely valid place to start.
There’s not really one microphone that’s better for a gong and one that’s better for a singing bowl – the quality across these options is pretty similar. What actually decides it is the feature set: do you want to record outdoors, do you need the file on your phone for Instagram, do you want to add a second microphone later without buying a whole new setup. If you want to grow step by step, the Zoom H4 has the edge here – its XLR input means you can add another mic down the line, instead of starting over with an interface and a new mic all at once, which is what upgrading from a USB mic requires.
The one extra worth getting
Cables are usually included at this price point, so there’s not much to think about there. The one accessory actually worth getting is a stand. For the Zoom recorders, I personally love the JOBY stands as they are very flexible and bendable, so you can position them anywhere, even wrap them around a branch outdoors.
The Blue Yeti already comes with its own stand; the HyperX’s is a little low, so you might want to get something taller like this Mic Stand Extension Tube.
What won’t come from any of this gear, no matter how much you spend: knowing how to hold space online, how Zoom actually works, how to turn a session into something shareable, how to run this as a real part of your business. That’s where a mentor, or someone with real experience, helps more than the best gear purchase would.
The free stuff that matters just as much as the mic
At this budget, room and placement matter just as much as the microphone itself – maybe even more, since there’s no spare money left to fix a bad room with better gear. A quiet room without a lot of hard, reflective walls makes a real difference – a bedroom or a living room with soft furniture works better than a bathroom or a hallway.
Place the microphone in the center of your instrument setup, not off to one side, otherwise your stereo image leans one way. Put it in front of the whole setup, facing it, rather than near where you’re sitting with instruments scattered around you – that doesn’t really work for sound baths. Set up the microphone at the right height and wear clothes that don’t rustle.
And if your budget is closer to $0-50 than $200, all of this still applies. A smartphone, or even a laptop’s built-in microphone, works fine if the room and the placement are right. The tools are not the limiting factor nearly as often as people assume. Start there if you need to, build your audience and some income, and upgrade your setup step by step as the budget allows.
The most common budget mistakes
The biggest one I see: getting a mono podcast-style microphone. Those are built for voice only, not for instruments – and instruments genuinely need stereo. Stereo is the way we actually hear with two ears. Headset mics fall into the same trap. I’ve even tried recording sound baths with a clip-on DJI Mic Mini – it technically works and gets the job done, but it’s definitely not the best audio quality you can get when someone’s listening with headphones. There’s a certain baseline of realness you want to hit, and the options above get you there.
One more practical note: don’t use a USB microphone outdoors. The wind will create genuinely weird noise on it. That’s exactly where a portable recorder earns its place.
And of course, the real waste isn’t a cheap mic at all – it’s buying a great setup and never actually using it. I know sound healers that bought excellent gear after consulting with me, but who have never started an online practice with it. That’s the actual waste, not the price tag on the microphone.
Where to start
You absolutely can record sound baths in genuinely good quality for under $200. The best setup is the one you actually use, not the one that’s sitting in a box. Everything above gives you a real, solid foundation to start hosting online sound baths. It’s not the highest quality available, but for most healers, it’s everything they need to begin. As your practice grows, you can upgrade – but you don’t need to wait for a bigger budget to start.
Need help with this?
If you’re not sure which setup actually makes sense for your specific instruments and situation, that’s exactly what I help people figure out. Book a call with me and we’ll sort out your setup together.
FAQ
A stereo USB microphone like the Blue Yeti or HyperX QuadCast 2 is a solid, genuinely usable starting point under $200. The one requirement: it needs to record in stereo, not mono – that matters more than the specific model.
If your budget allows it, yes – the H4 has a lower noise floor (important for picking up quiet sound bath instruments cleanly), records in 32-bit, and has an XLR input so you can add a separate microphone later without replacing your whole setup. The H1 is cheaper and still usable, just lower quality.
Yes. The room and microphone placement matter more than the device itself – a smartphone or even a laptop’s built-in mic can work if it’s placed correctly in a quiet, acoustically soft room. Upgrade your gear once your practice and budget grow.
Podcast and headset microphones are built for voice and usually record in mono. Instruments need stereo sound to feel real and immersive – mono collapses the spatial quality that makes a recording sound like you’re actually in the room.
No – wind will create loud, distracting noise on a USB microphone. For outdoor sound baths, a portable recorder like the Zoom H1 or H4 Essential is a much better choice.