
This is, by far, the most-asked question that I get asked whenever I’m around other sound healers: what microphone should I actually use for my Tibetan bowls?
Short answer: there’s no single “best” mic – there’s the one that fits your budget and setup. Start with a stereo USB mic (like a Blue Yeti) or a portable recorder (Zoom H1/H4/H5) if you’re on a tight budget, or a small condenser like the Rode M5 plus an audio interface if you want a step up. Whatever you choose, it must be able to record in stereo, not mono – that matters more than which specific mic you pick.
This post focuses specifically on Tibetan bowls – if you want the full picture across every instrument and budget tier, check out the complete equipment guide here.
Why Tibetan bowls are genuinely harder to record
Tibetan singing bowls are quiet, and they carry a rich overtone structure. Unlike quartz singing bowls, they don’t have just one dominant fundamental tone, but a whole layer of harmonics sitting on top of the fundamental frequency. To capture that properly, your microphone needs to pick up all of those details precisely. On top of that, it needs to do it with a very quiet sound source.
That’s the real difference compared to recording a voice or a guitar: most music instruments are loud enough that a bit of background noise in the microphone barely matters. With a bowl, any noise floor in the mic itself becomes part of the recording, because the signal by nature is very quiet. You don’t need to spend a fortune to start, but a proper microphone can make a huge difference here compared to using just your phone or your laptop mic.
The most common reason recordings sound thin or distorted
It’s almost always one weak link somewhere in the signal chain. Either there’s no real signal chain at all e.g. when you just create a phone recording with nothing else involved or there’s an issue with one element inside the signal chain.
Think of it step by step: where you place the mic, which mic you’re using, how it connects to your computer (the audio interface and cables), and then what you do with the signal afterward (recording, streaming, mixing). Every stage needs to be good enough – not expensive, just right for what you’re doing. A weak link at any single stage is usually what’s causing that thin or distorted sound people complain about.
Condenser vs. dynamic, large vs. small diaphragm
Camera mics, smartphone mics, and clip-on mics are all built for voice – they’re not designed to pick up something as quiet as a bowl cleanly, so they tend to sound thin or a bit unnatural once things get quiet. A proper condenser microphone (large or small diaphragm) is mechanically built to pick up detail more precisely.
When it comes to choosing between large and small diaphragm condensers specifically and recording indoors and in a quiet room: both genuinely work well. The difference is more a practical one than a sonic one – large diaphragm mics are bigger and heavier, so they need a sturdier stand and a bit more thought about positioning them correctly. Small diaphragm mics are lighter, easier to position, and often cheaper to start with. It comes down to budget and practicality more than one being an objectively better choice.
Where to start if you’re on a budget
The cheapest real option is a USB microphone. However, it is very important that it has to have a stereo feature, so that it picks up left and right rather than one flat, central signal. The Blue Yeti and similar USB mics like the Quadcast HyperX fall into this category. They’re not the highest quality and they only capture the sound from one position, but in my experience with clients they can work fine for two or three instruments that aren’t too spread out.
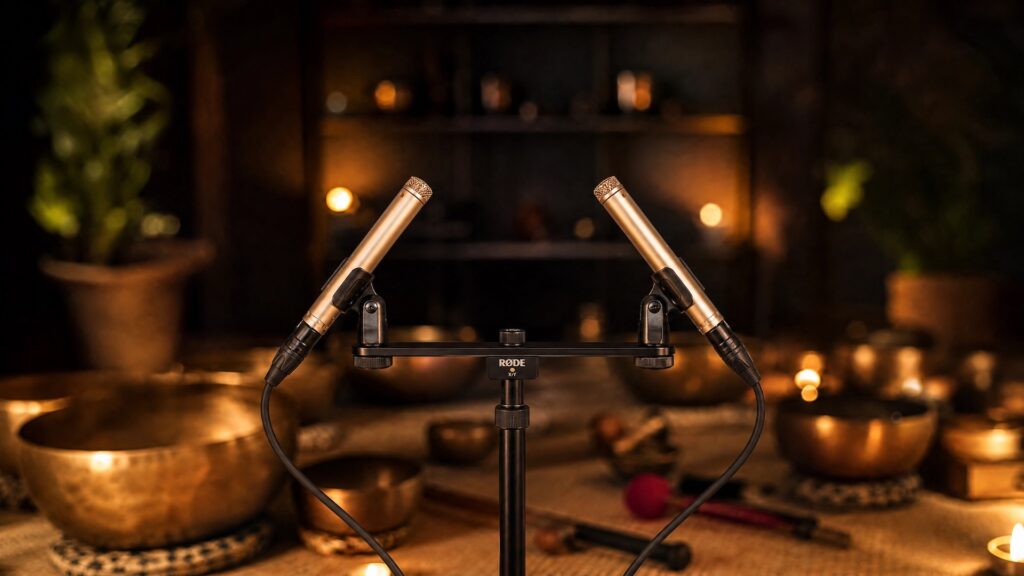
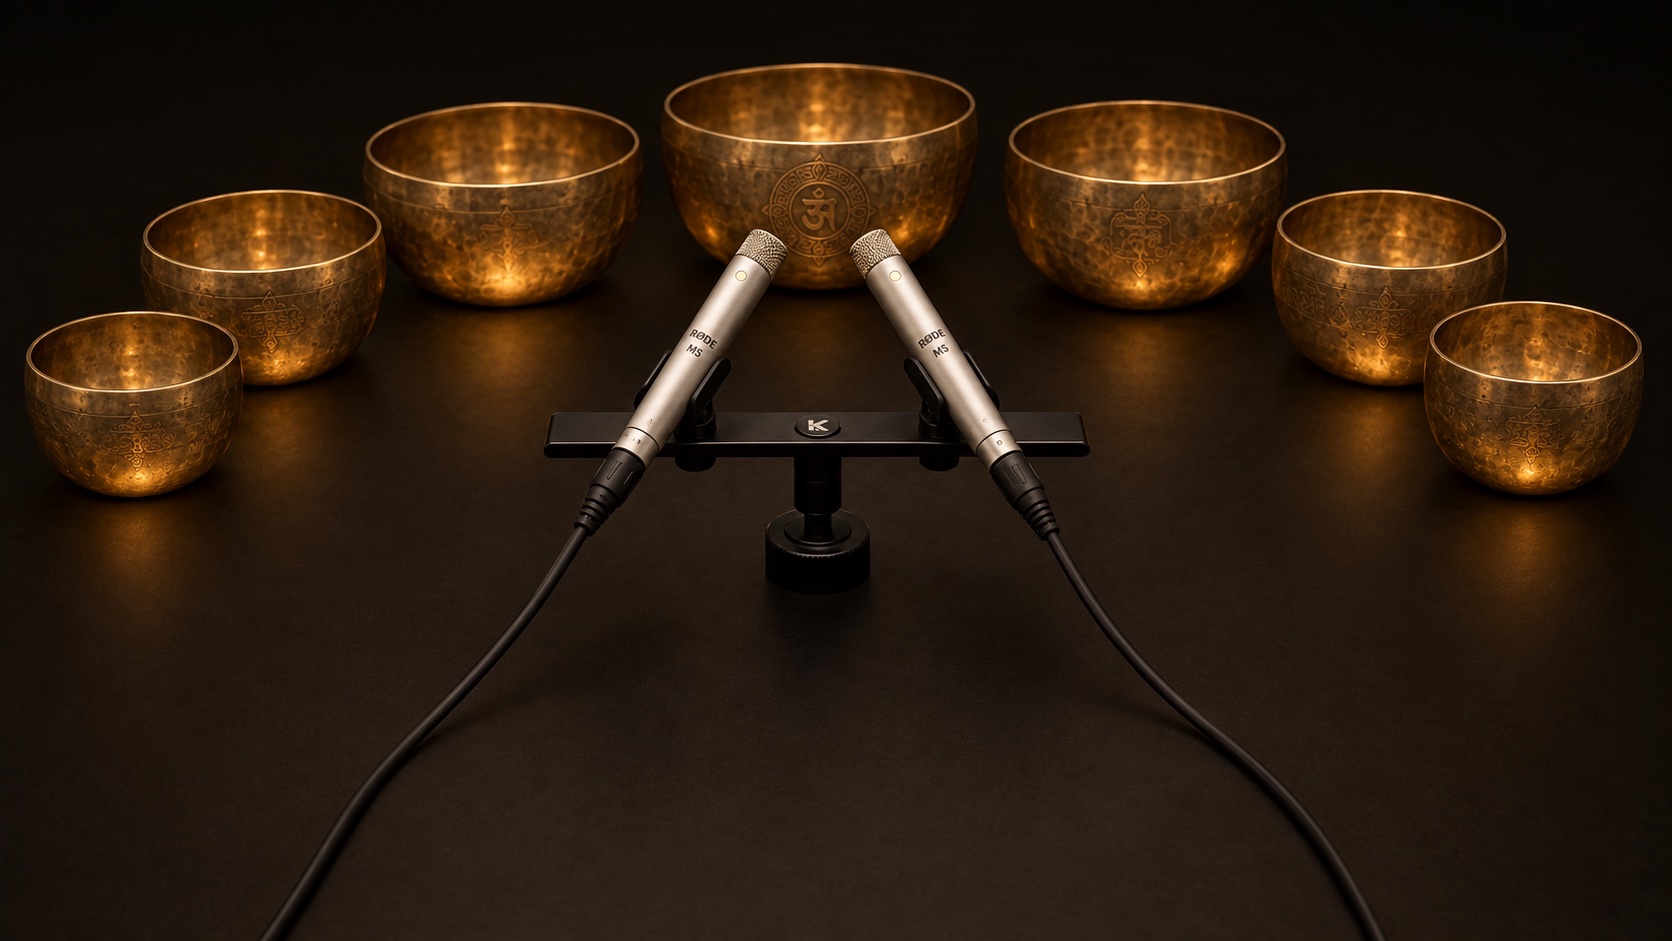
From there, a small condenser mic like the Rode M5 (around €150) is a solid next step. When choosing a professional mic like this, you’ll also need an audio interface to connect it, unlike a USB mic that just plugs straight into your laptop.
A separate budget path that’s worth knowing about is: portable recorders. The Zoom H1 (~€100), H4 (~€200), or H5 are also great starting points, and they’re more mobile if you want to record outdoors. Many even connect directly to a smartphone via USB-C, so you can use them as a mic for Instagram, YouTube Live, or Zoom too. In this case, there’s the same limitation as the USB mics though – they pick up the signal only as one sound source. Therefore, portable recorders work best for a smaller, tighter setup.
Once you’ve got a decent mic, the next thing that trips people up is actually getting that quality through to your listeners. Zoom compresses your sound more than you’d think, here’s how to fix that.
There isn’t one “best” mic – there’s the one that fits you right now
Whatever suits your budget and your specific setup is the right one to start with. If money is tight, start cheap and upgrade slowly – that’s completely fine. What actually matters is that you start sharing your practice. To be honest, most people won’t even notice if it’s not perfect yet. It just needs to be decent.
Placement – the part that matters more than the mic itself
There’s no single fixed distance or angle that works for everyone – it depends on your room and the size of your set. If you have a larger set and you place the mic too close to a couple of instruments, those will sound loud while everything else fades into the background. You want a distance where every instrument in your set is roughly equidistant from the mic.
The further back you go, the more room sound you pick up; the closer you get, the more direct and dry the sound. To find the best placement, I would recommend to test both and see what sounds the best.
One placement I’ve had good results with: positioning the mic low, near floor level, roughly where someone’s ears would be if they were lying down listening. That mirrors exactly how a listener would actually experience the sound. Placing it above the bowls can also work well, especially with a bigger set.
The most common placement mistake
In my experience, I’ve seen most people getting the distance wrong. They place the microphones either too close and the balance between instruments breaks down or they place it too far away and the room sound is louder than the singing bowls itself. And just as important as that is to always place your two microphones symmetrically. If your setup leans to one side, the whole recording ends up sounding like everything is happening on the right (or left) side instead of spread evenly – because those two mics are essentially standing in for your two ears. That will cause major issues when listening to your set with headphones as it sounds like everything is happening inside one ear and not spread across both ears. Keep the setup symmetrical so the stereo image stays balanced.
Should you get one mic or two?
If you only have a small setup, one microphone can work – but only if it’s a genuine stereo mic with two capsules. Never use a mono microphone for sound healing recordings; it flattens everything and strips out the spatial information entirely. For a bigger set, two separate microphones let you actually place them across your instruments so nothing gets too loud or too quiet.
How to actually figure out what sounds best
Experiment. Don’t assume there’s one correct position – even the distance of a phone camera can make a real difference. Try a few placements, listen back, and go with whatever feels the most natural.
The biggest myth I see repeated
Many people believe that using one expensive mono microphone will do the job. It definitely won’t. Even a cheap stereo setup will sound noticeably better than one pricey mono mic, because stereo is what actually carries the spatial, “being in the room” quality that makes a recording feel real. Understanding stereo vs. mono is probably the single most important thing to get right here.
What people waste money on
I’ve seen it so often: Sound healers buy super expensive gear believing that it will fix everything, but they have absolutely no clue how to use it. A good room, correct positioning, the right software settings, correct gain staging, proper mixing – all of that matters as much as the equipment you get itself, sometimes even more. You can get a genuinely good result from a smartphone if you know what you’re doing, and you can get a bad one from an expensive setup if you don’t. That’s exactly the gap I want to help close – most sound healers haven’t had a reason to learn any of this, and that’s completely fine. It’s absolutely learnable.
Where to start
Pick whatever fits your budget and situation right now. Test it, experiment with placement, learn a bit about how recording actually works – and then just get moving. Share your practice, get feedback, and build your setup and your knowledge over time. Don’t wait for the perfect equipment before you start.
Need help with this?
If you’re not sure which setup actually makes sense for your specific instruments and space, that’s exactly what I help people figure out. Book a call with me and we’ll sort out your setup together.
FAQ
There isn’t one universal answer – it depends on your budget and setup. A stereo USB mic (like a Blue Yeti) or a portable recorder (Zoom H1/H4/H5) is a solid starting point. A small condenser mic like the Rode M5 with an audio interface is a good next step up. The one requirement that matters more than the specific model: it needs to record in stereo, not mono.
Yes, to start – but a phone or laptop mic is built for voice, not for a quiet, overtone-rich source like a bowl, so it will sound thinner and less detailed. It’s a fine starting point while you’re figuring things out, not a long-term solution if you want good quality.
Not necessarily two separate mics – but you do need stereo. One microphone works fine if it has two capsules built in (a genuine stereo mic). A mono mic, even an expensive one, will flatten the sound and remove the spatial detail that makes a recording feel real.
For an indoor, quiet-room setup, both work well – this is more a practical and budget question than a sound-quality one. Large diaphragm mics are bigger and heavier and need a sturdier stand; small diaphragm mics are lighter, easier to position, and often cheaper.
There’s no single fixed distance – it depends on your room and how many instruments you’re recording. As a rule of thumb, keep every instrument roughly the same distance from the mic, and keep two microphones placed symmetrically so the sound doesn’t lean to one side. Testing a few placements and listening back is the fastest way to find what works.